
California-based photographer Evan Ruderman recently returned from his second trip to Chile’s epic Torres del Paine national park. Here, he shares some shots and tips that got him through his 10-day trek.
I first explored Torres del Paine, Chile in 2018 on a brief two-day trip – and left wanting more. Though I rarely revisit places – there’s just too much to see in this world! – as I traveled home I promised myself I would one day return to see more of this magnificent park.
As a travel photographer, I knew it was only a matter of time until I could find a way for “work” to bring me back. A few months ago, the stars aligned when my brother mentioned backpacking through the park during his time in between jobs – and I excitedly volunteered to join.
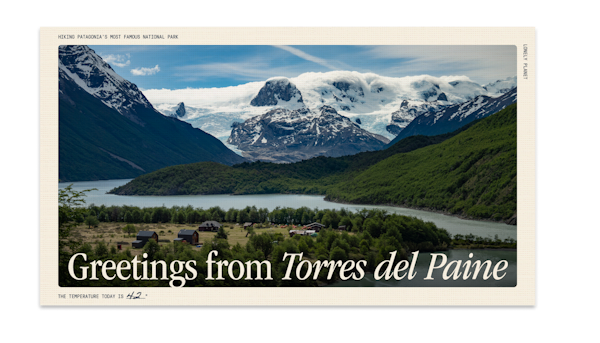
 From left to right: Ella Jankoski, Alex Lekacz, Sam Ruderman, Evan Ruderman (author) © Evan Ruderman Make the most out of every adventure with help from our weekly newsletter delivered to your inbox.
We elected to do the O Trek, a world-renowned backpacking route that loops around the famous Patagonian park. While many people opt for the popular four-day W-Trek, the O Trek is the eight-to-10-day, lengthier (85 mile) and more immersive option, and it’s far less traveled. We packed our bags and were soon to find out why Lonely Planet ranks it as one of the 10 best treks in the world.
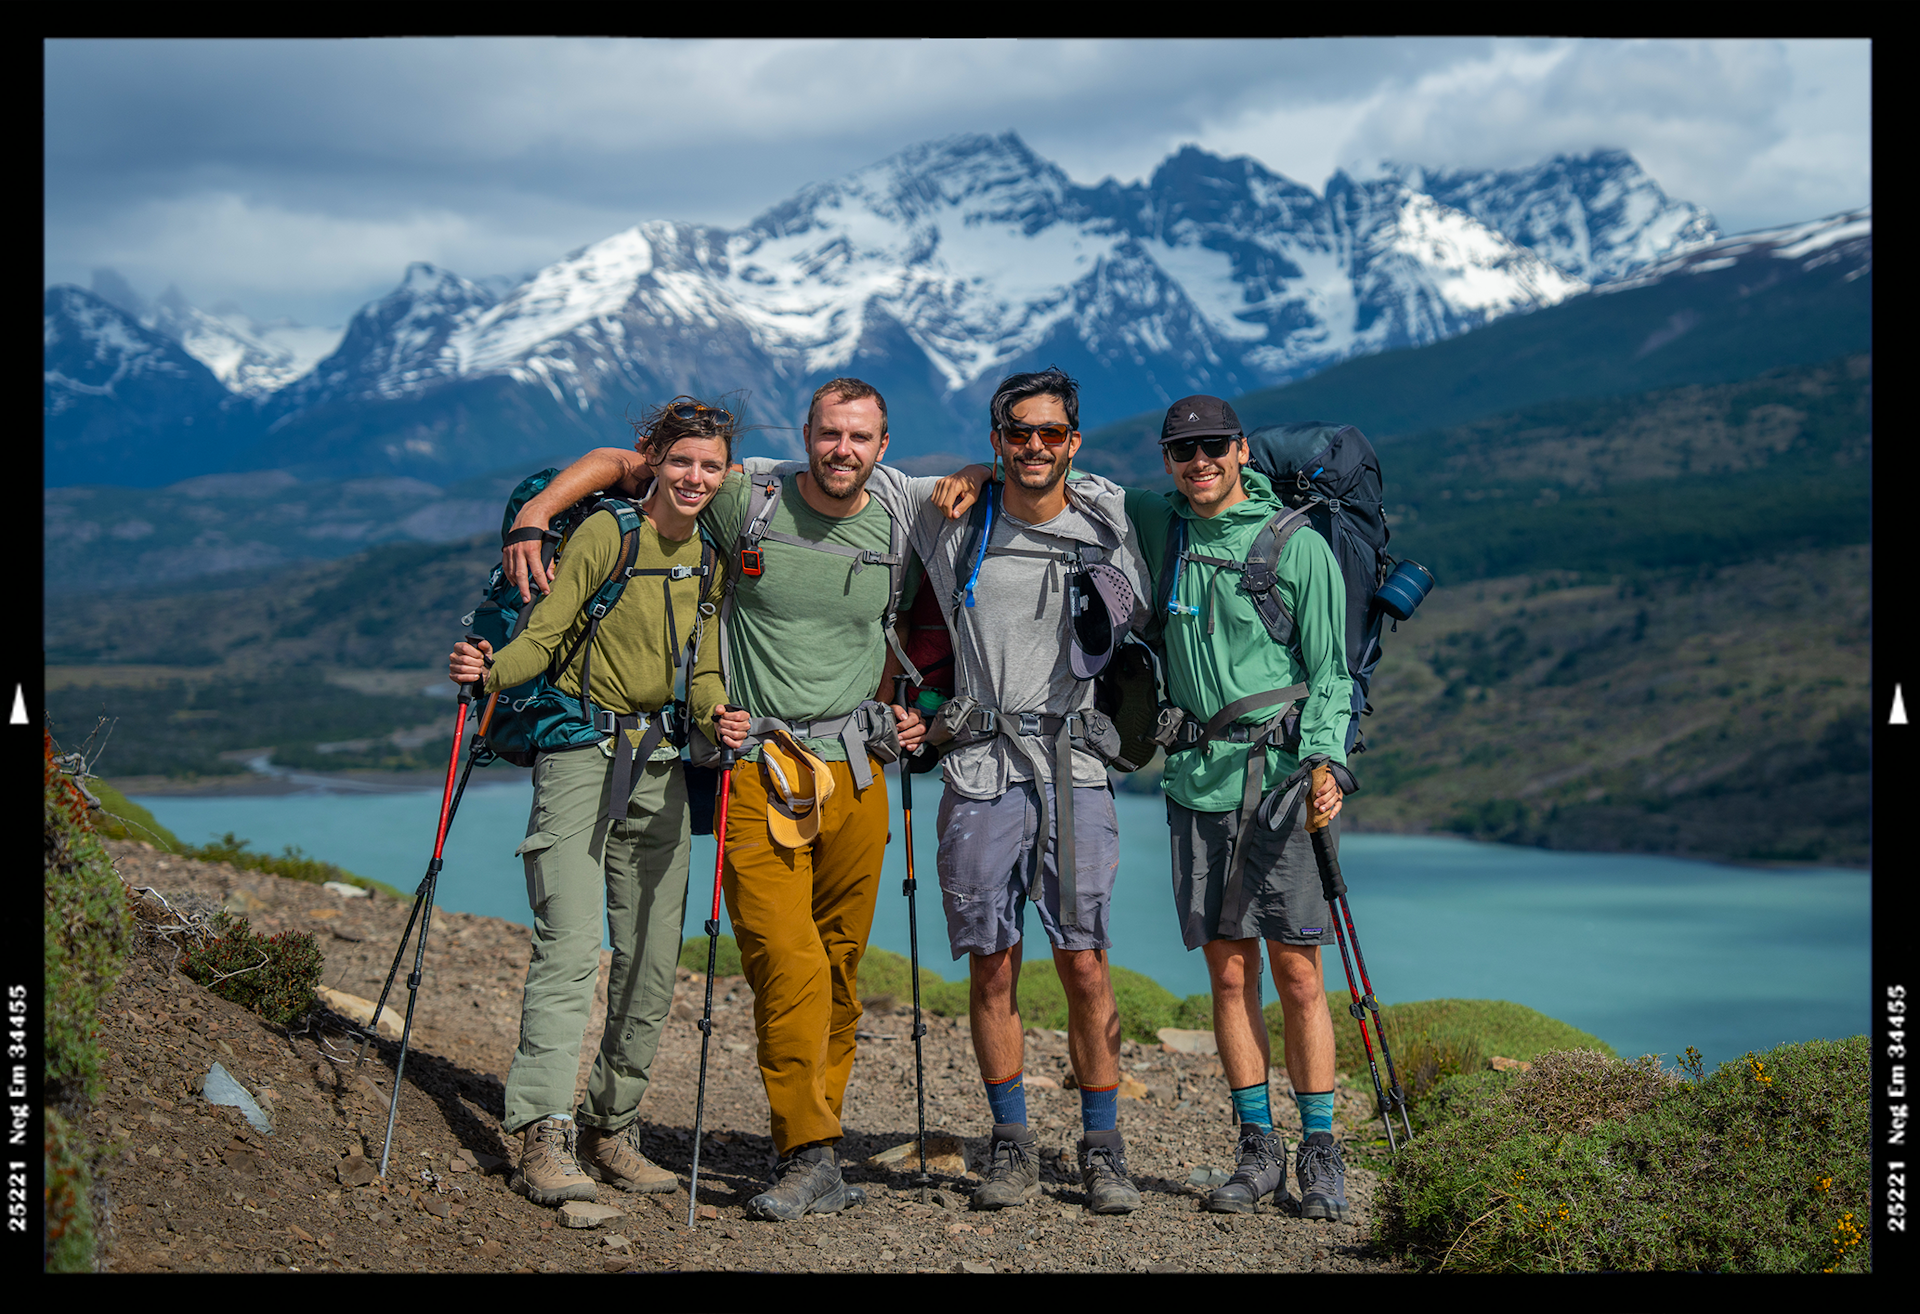
 Evan’s campsite in Torres del Paine © Evan Ruderman
In Torres del Paine, I stayed in…
A tent! Yet since there are multiple accommodation options in the park, figuring out where to stay was the most difficult part of planning this trip. Along the trek there are evenly spaced refugios – think hostels in the wilderness – that welcome guests. For a premium ($125 per person), you can stay inside, in dorm-style rooms but a more budget-friendly option ($25 per person) lets you pitch a tent and sleep outside in the campsite area.
Even if you stay in the campsite, you still have access the refugios’ facilities which include bathrooms, hot showers, wi-fi (for about $8 an hour), outlets for charging and cooking areas with tables and sinks.
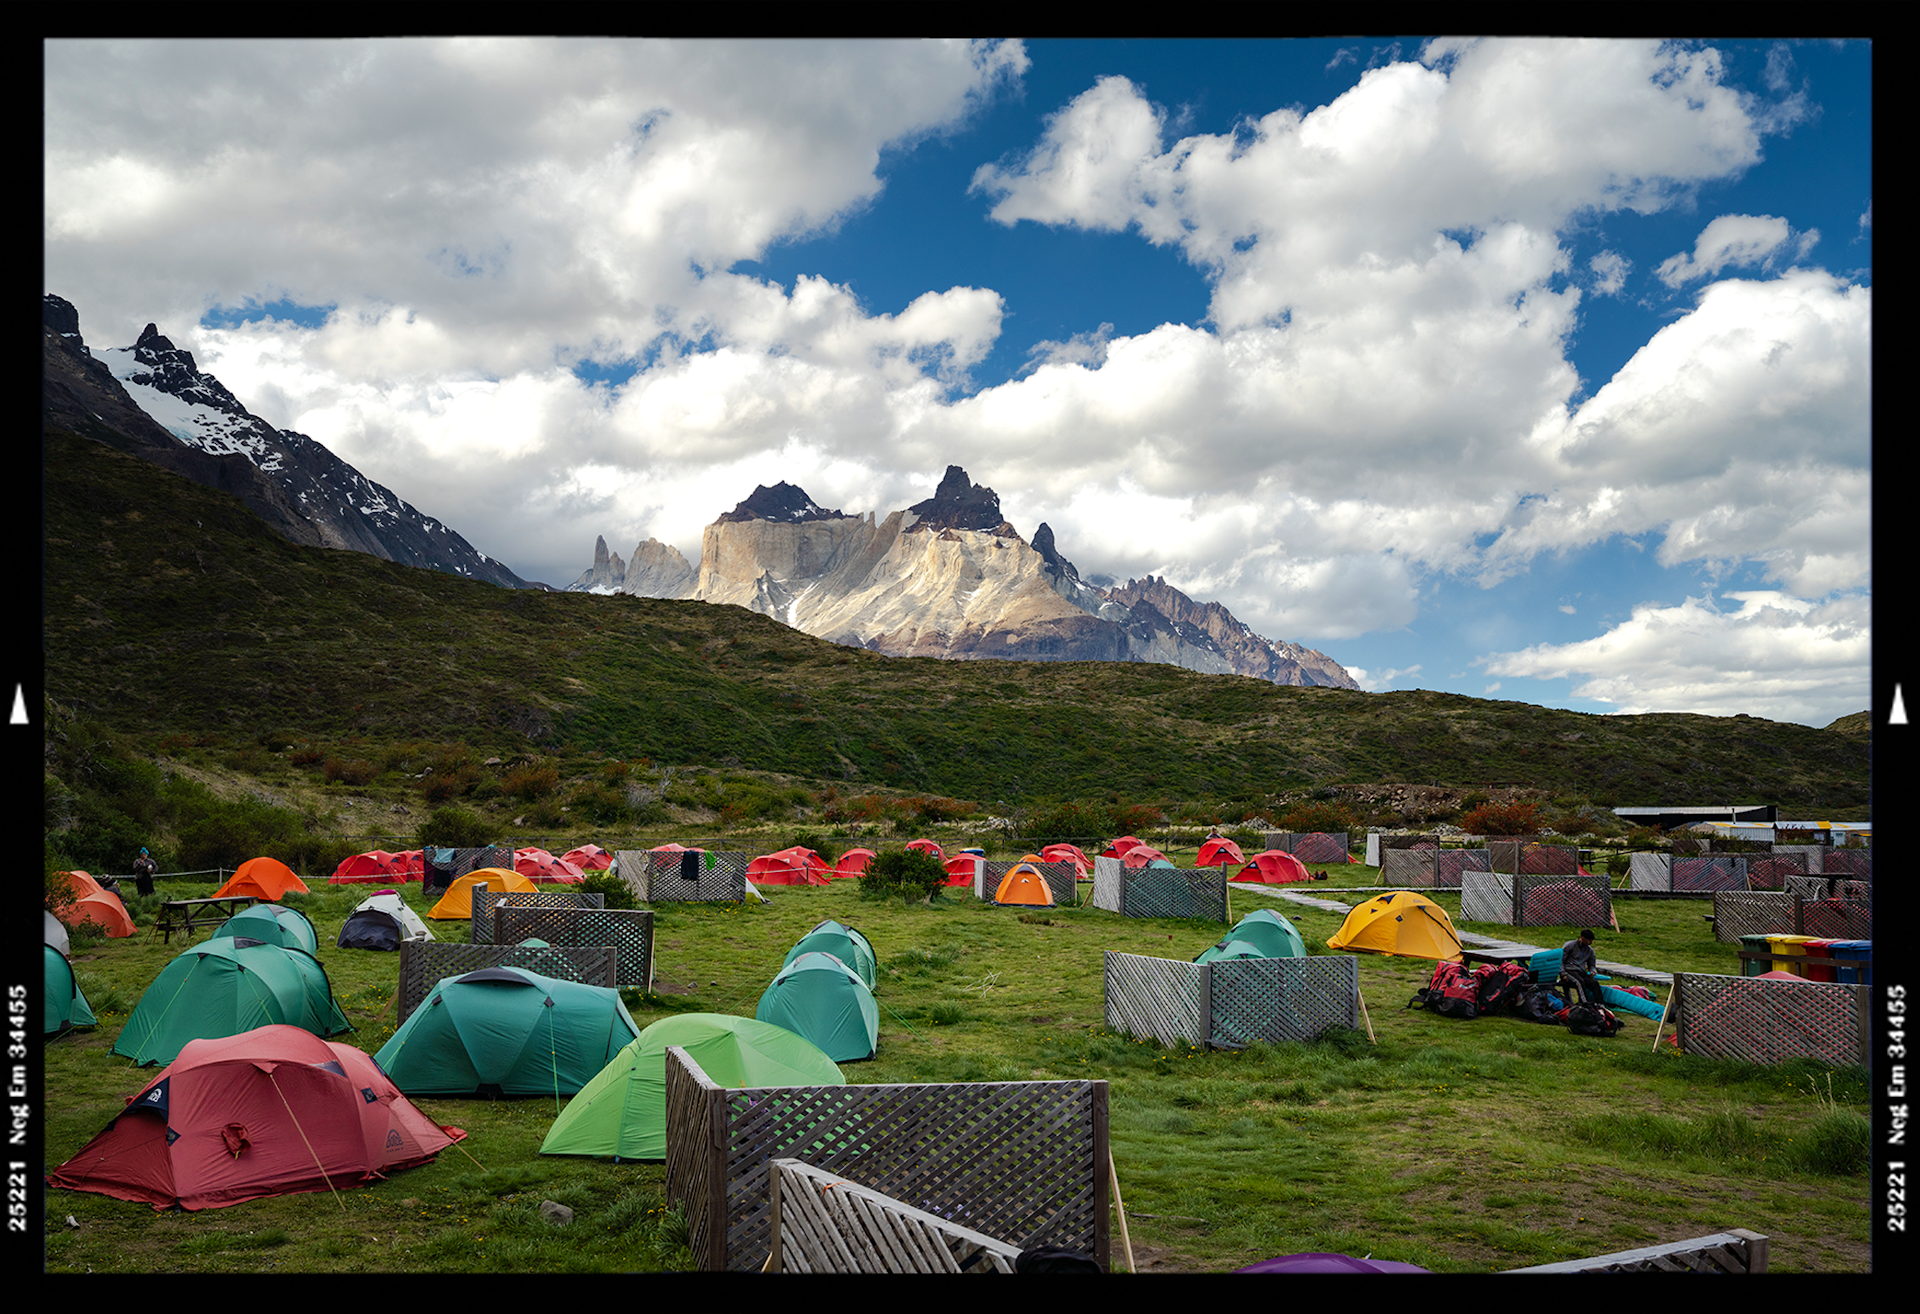
 Making coffee © Evan Ruderman
Some of the refugios also have snack bars where you can purchase supplies like candy bars, cookies, ramen, chips and even cold beers, and a few sell more substantial food like pizza and hamburgers. Inside or outside, all of them come with five-star views, and the infrastructure makes this backpacking experience a lot easier than being entirely in the wilderness.
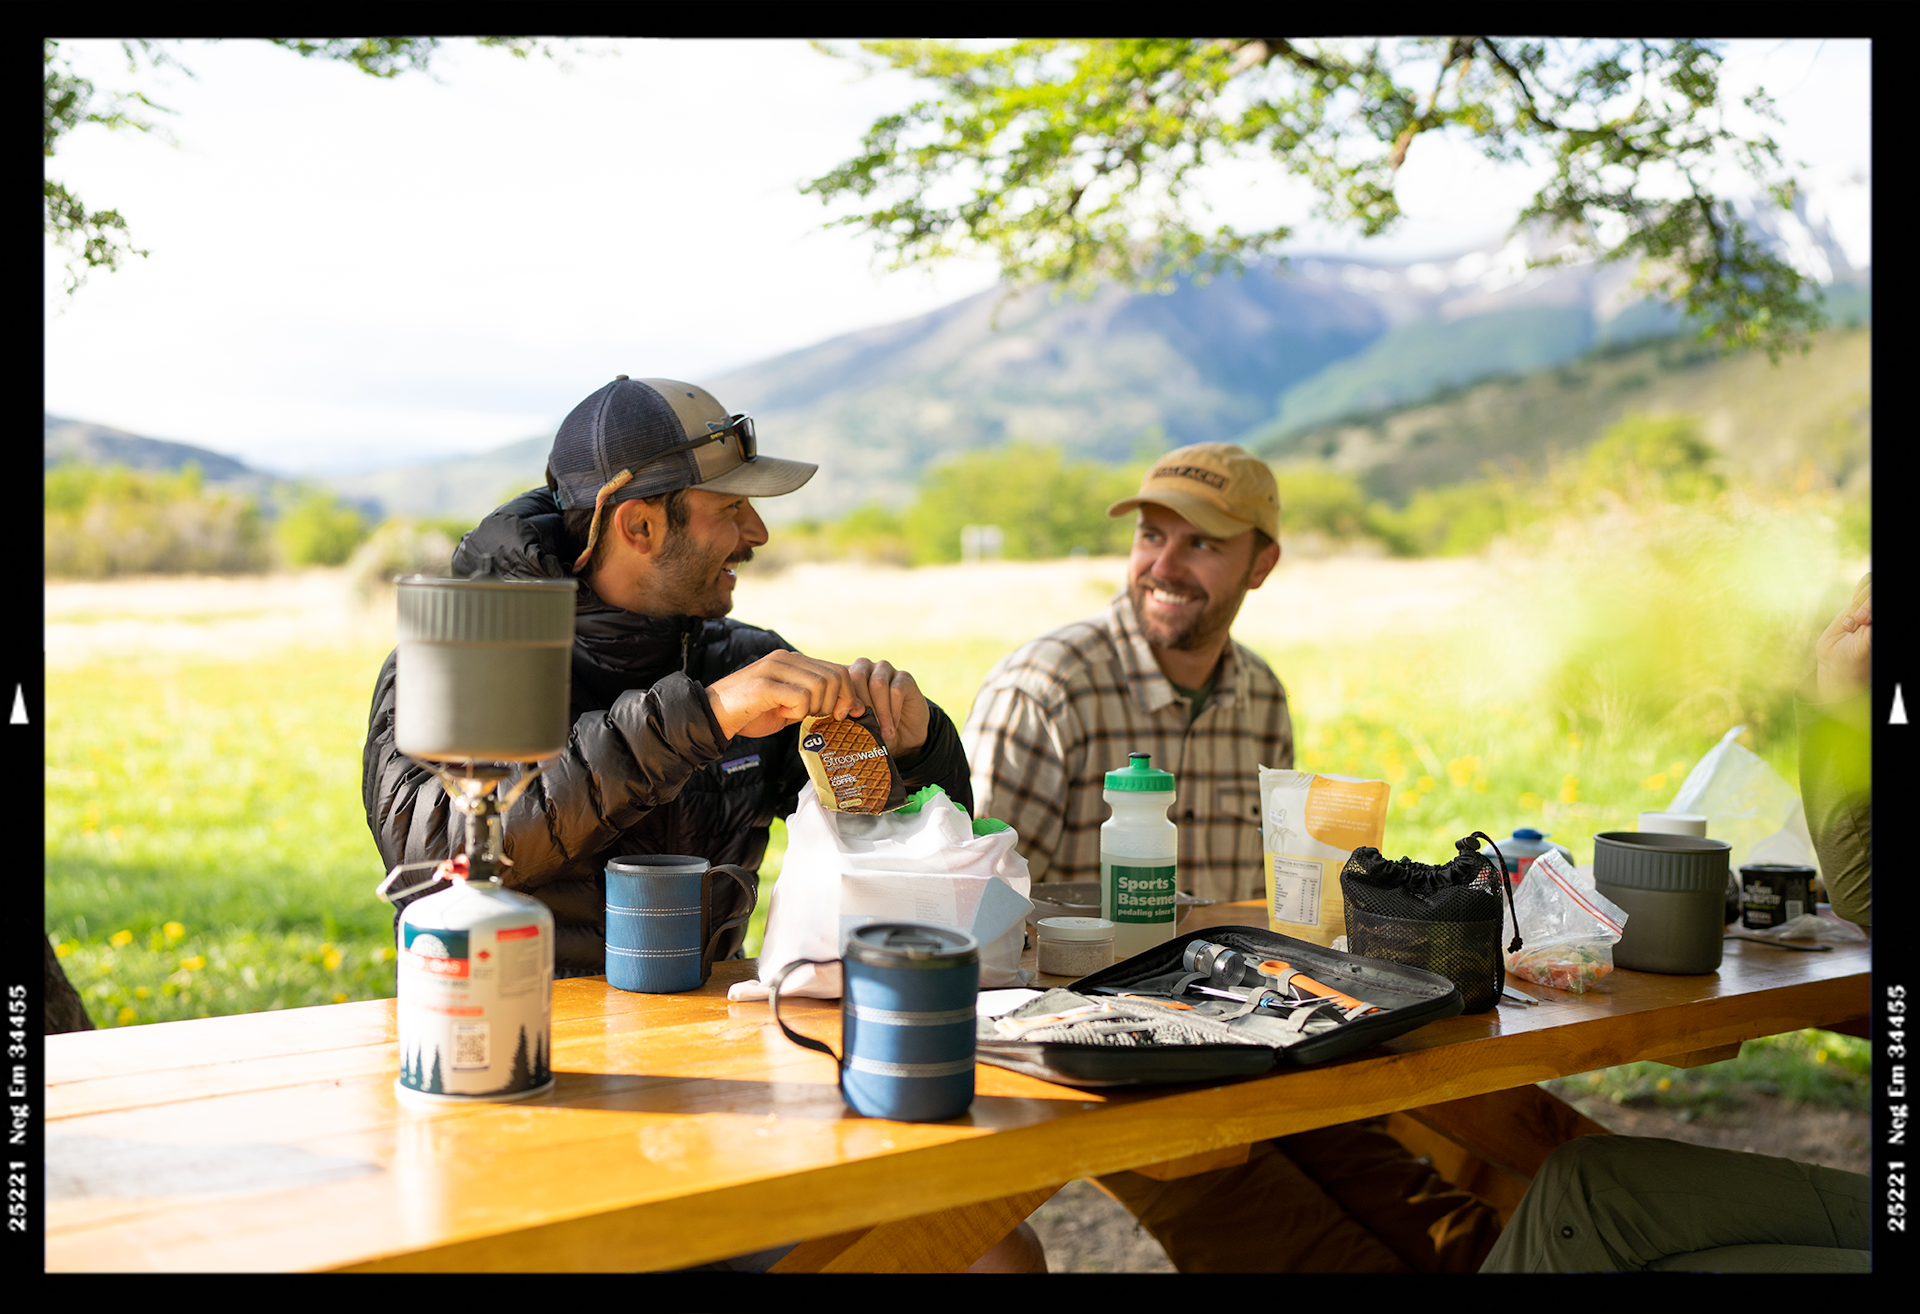 Coffee and an easy camping breakfast in Torres del Paine © Evan Ruderman
I start the day in the Torres del Paine with…
Coffee and an easy camping breakfast. We packed in all of our own supplies, and each campsite along the route had designated areas and tables – both indoor and outdoor – for cooking, which was quite nice. These designated areas are the only places in which stove use is allowed in the park: it’s illegal to use camping stoves anywhere else in an effort to prevent wildfires.
Each morning of this trek involved rolling out of bed, breaking down our tents and sleeping setups, and boiling water for coffee and oatmeal. Then we would start a long day of hiking.
 The famous ‘towers’ at sunrise © Evan Ruderman
In Torres del Paine you must try…
Hiking to the famous Towers at sunrise. The crown jewels of the park are the three distinctive granite peaks of the Paine mountain range (exactly what the park is named after – “torres” means “towers” in Spanish). If you’ve seen photos of the park, you’ve likely come across this iconic view, and it’s a must-see while there.
It certainly isn’t easy, and getting there for sunrise meant waking up at 1am and completing a pretty strenuous hike on the final morning of our long trek. But it was without question worth it. The view of these jagged peaks nestled above a sparkling glacial lake is unlike anything I had ever seen, and was a perfect way to cap off the trip.
Planning tip: Be sure to dress warm and charge your headlamp before you set out.
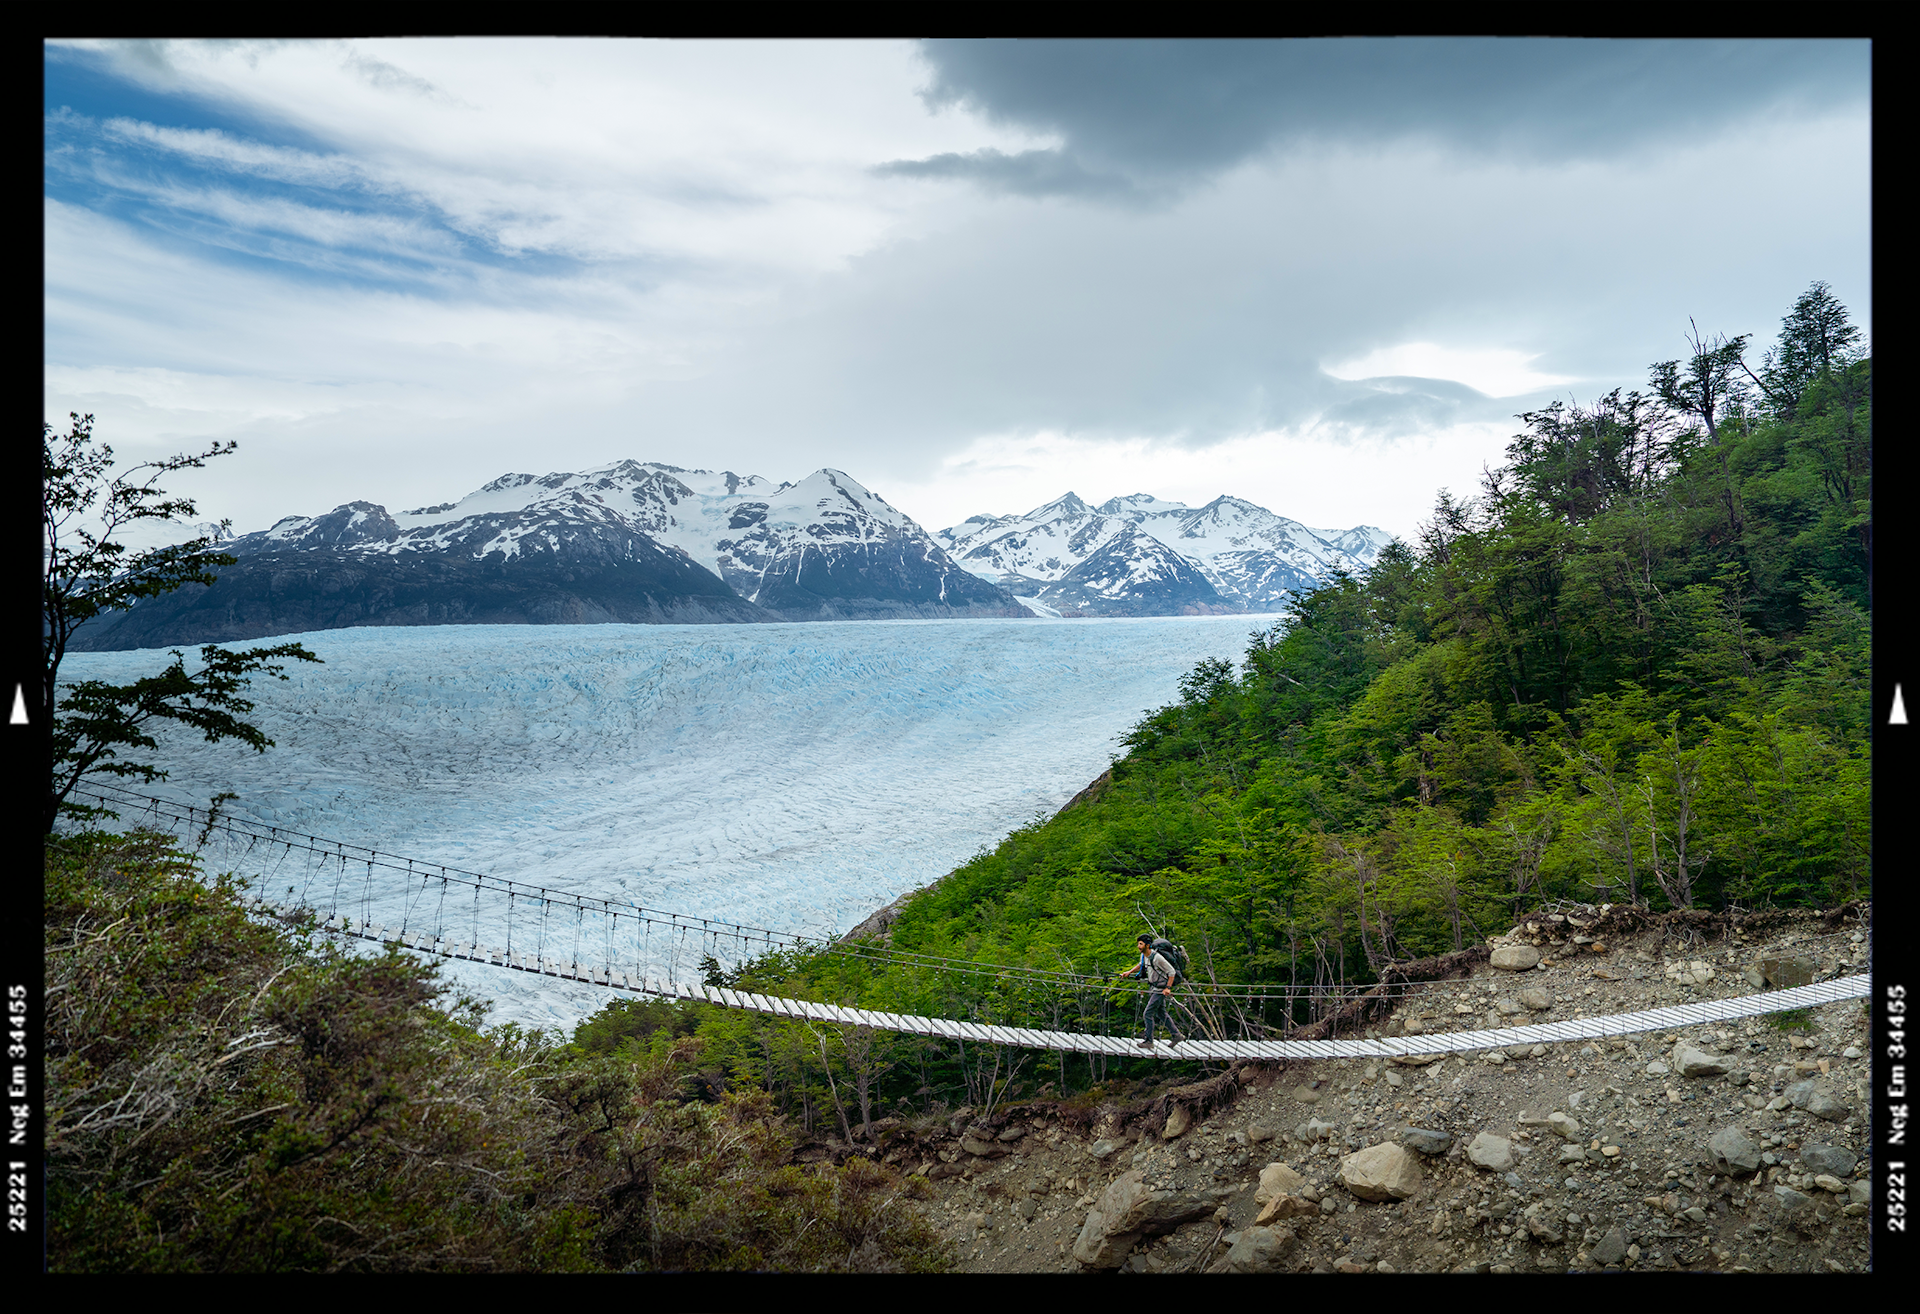 Crossing the suspension bridge © Evan Ruderman
The top spot for an epic adventure in Torres del Paine is…
The suspension bridges near Glacier Grey. On day four or five (depending on your pace) you’ll go over John Gardner Pass, earning breathtaking views of Glacier Grey from above before continuing to hike alongside it for miles.
On this portion of the trek, you’ll cross a series of suspension bridges that are sure to get your heart rate up. The bridges hang high over the valleys below and sway side to side as you walk – offering sweeping views of the landscapes and making the day feel quite adventurous. Remember to go one at a time over these long bridges to minimize swaying.
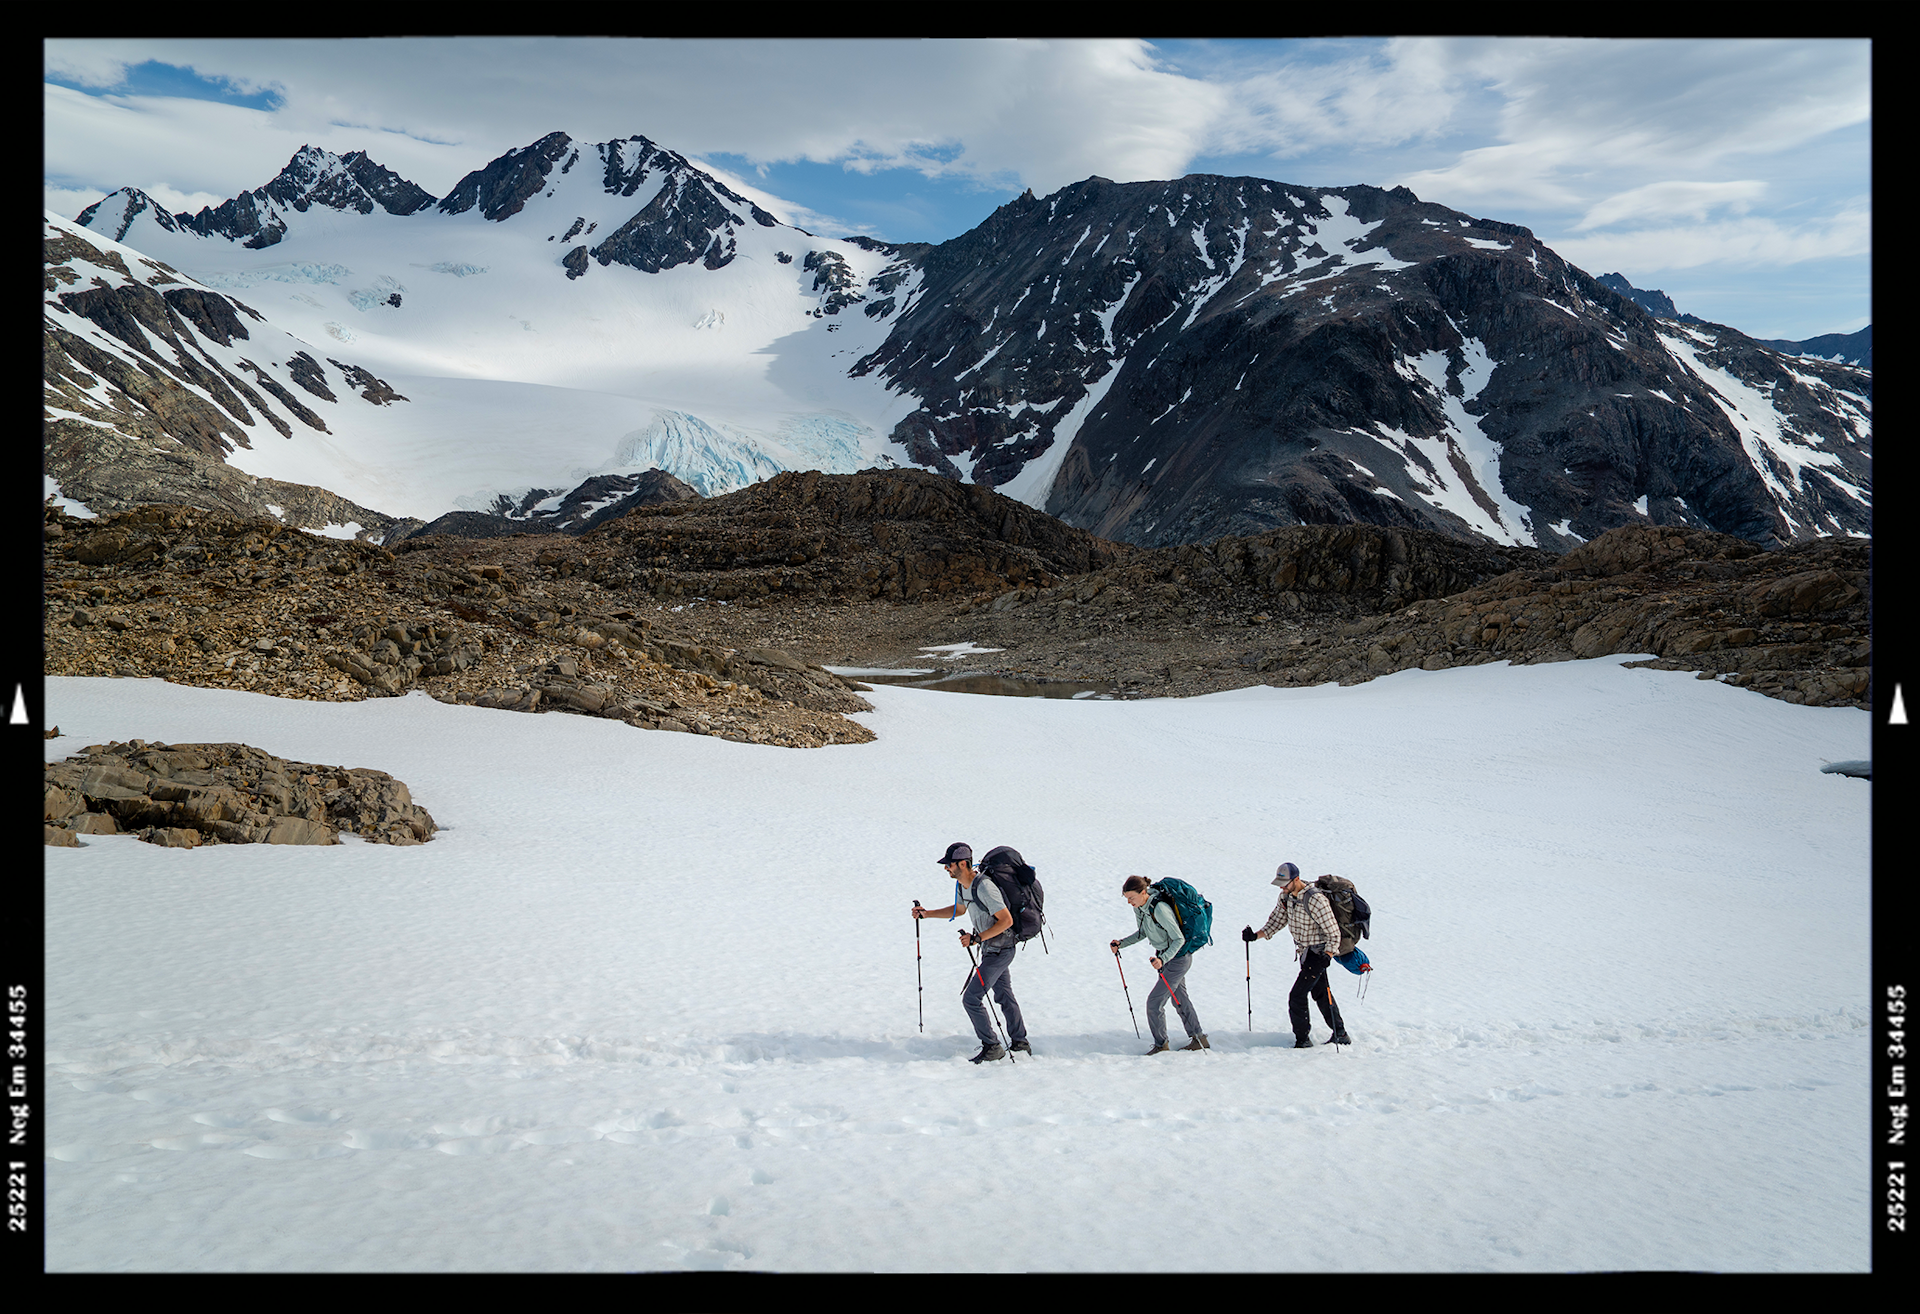 A good pair of trekking poles will come in handy © Evan Ruderman
The one item I recommend bringing to Torres del Paine is…
A good pair of trekking poles. Many backpackers think trekking poles are optional or only for those who specifically need them, yet in my years of backpacking experience I have come to learn that trekking poles are absolutely essential for anyone and everyone. The days on the O Trek are long, many covering 10+ miles with a lot of vertical gain and loss. Trekking poles help you significantly both on the way up and on the way down, taking some of the load off of your knees and legs while also giving you extra points of contact to avoid slipping and falling or rolling an ankle. I used a pair from Black Diamond; just about any pair will do.
Planning tip: If you don’t own poles or want to avoid the hassle of traveling with them, there are plenty of places in Puerto Natales (the nearest town to the park) to rent a pair for just a few dollars a day.